Best Practice for Resin Miniatures
Here are our best practices for resin miniatures.
So, your model has arrived in the post! 🥳
Now comes the fun part: assembling and painting them! Whether you're crafting an army for wargaming, a hero for your next D&D session, or just a cool display piece, this guide will help you get the most out of your 3D printed miniatures.
Not all of the models we send out will require assembly. In fact most arrive ready for priming and painting! Although we put a lot of effort into cleaning our models, there might still be a little prep work required.
This blog does contain affiliate links. As an Amazon Associate, we may earn from qualifying purchases. We only link items which we personally use & recommend.
|
With this in mind, lets get to Step 1: Cleaning Your PrintsLuckily we de-support all of our models before sending out, as we believe it's not fair for our customers to have to complete this sometimes very fiddly process. If we can't get the supports off without a lot of effort before the model is cured, why should you have to try and complete the process when the model is tougher? Although we will remove all supports, and try to clean the model to the best of our ability, we still may have missed some spots though which require a small amount of attention from you. To remove these, we highly recommend lightly sanding rough spots with a very fine-grit sandpaper or a hobby file. Don't forget to wear your dust mask during this time to avoid breathing in any small plastic particles created! |
 |
Now you model is smooth, it's time for
Step 2: Assembly & Gap Filling.
If your model has arrived in parts, or separate to the base, it's time to assemble it.
- Dry Fit First: Before gluing, test how the parts fit together, so any filing can be completed if needed.
- Use the Right Glue: Super glue works best for resin.
- Fill Gaps: If there are gaps, use epoxy putty / green stuff to smooth things out. Sometimes we will send out models that are hollow. These may have small holes in the underneath of the model to allow resin to drain and to allow us to clean the inside of the model. If this is the case, you can use a small amount of epoxy putty to fill these if visible (most end up being hidden by connecting parts or the base).
|
Now your model is assembled, it's time for Step 3: Priming Your Miniature.A good primer makes painting easier and helps paint stick properly.
|
 |
 |
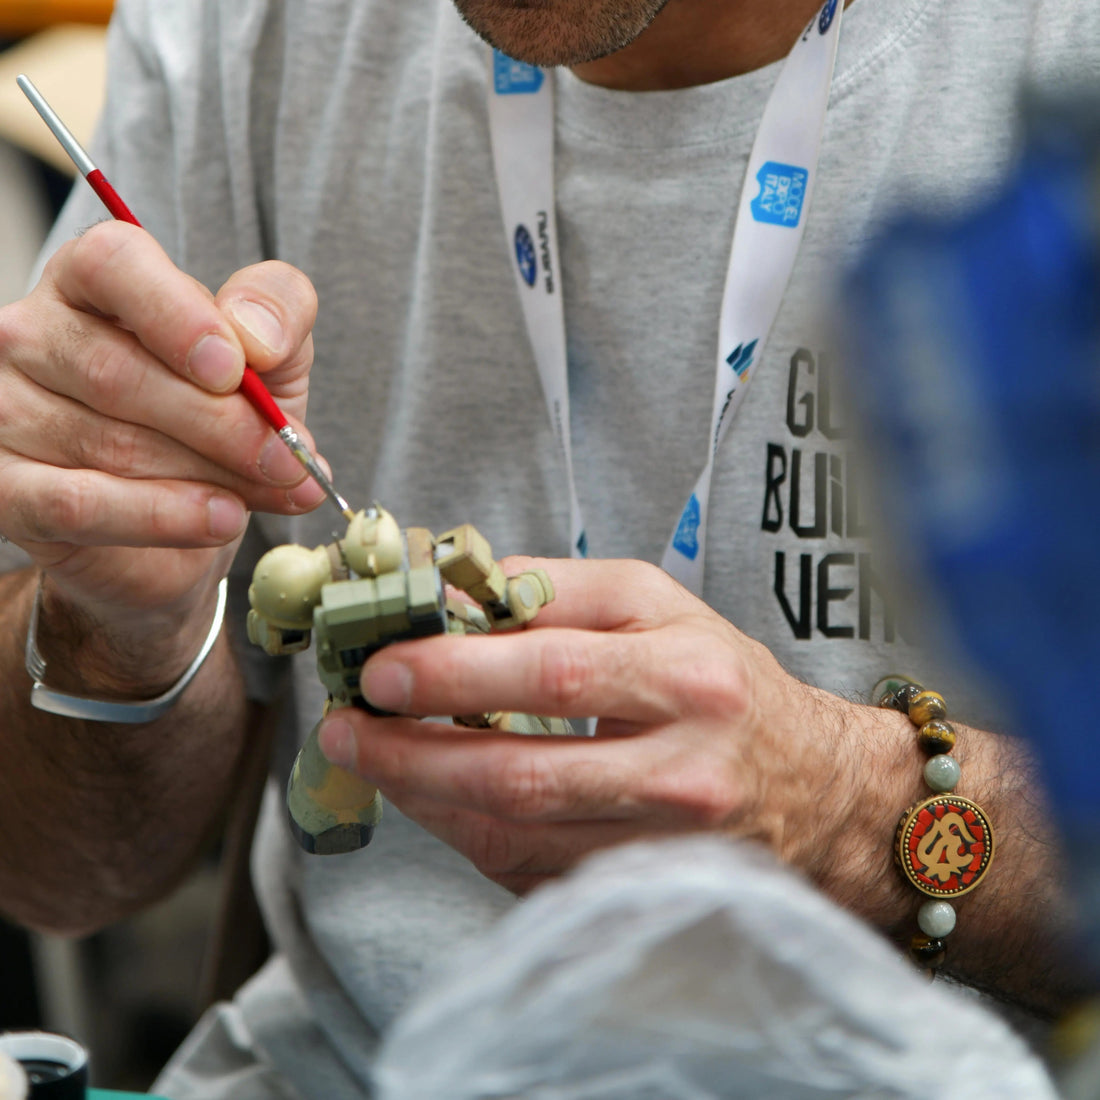
Base coat finished? Right, it's time for Step 4: Painting Your Miniature.Time for the fun part—bringing your miniature to life with colour! This is your time to shine and flex your creativity, really making the model your own.
|
Now your model is looking fabulous, and you're super proud of all your hard work, there's only one thing left to do.
Step 5: Sealing and Protecting.
To make sure your hard work doesn’t chip off:
- Use a Matte Varnish: This prevents shine and protects the paint job.
- Gloss for Effects: Use gloss varnish selectively for things like wet-looking blood or shiny armour.
By following these steps, you’ll be well on your way to creating stunning, high-quality tabletop miniatures. So get painting, and showing off your latest creations! Remember, we love to see all of our customers work, so when showing off your work please tag us on Instagram or Tiktok, we try to share all work we're tagged in as we believe everyone's skills should be celebrated.
Our models are printed using a slightly more flexible resin than standard. This is intentional - the added flexibility helps reduce breakages during shipping and improves overall durability, ensuring your miniatures arrive safely and last longer.
In rare cases, you may notice a slight bend in a piece upon arrival. Don’t worry — this can be easily fixed using the hot water method:
- Dip the bent part into hot (not boiling) water for a few seconds.
- Gently bend it back into the correct shape by hand.
- Immediately submerge it in cold water to set the shape.
This quick process restores your miniature to its intended form, ready for painting and play!
A Few Extra Bonus Tips
- Experiment with Colour Schemes: Try different themes and techniques to find your style.
- Use a Wet Palette: It keeps paint from drying out too fast and helps with blending.
- Don’t Rush!: Take your time and enjoy the process.
