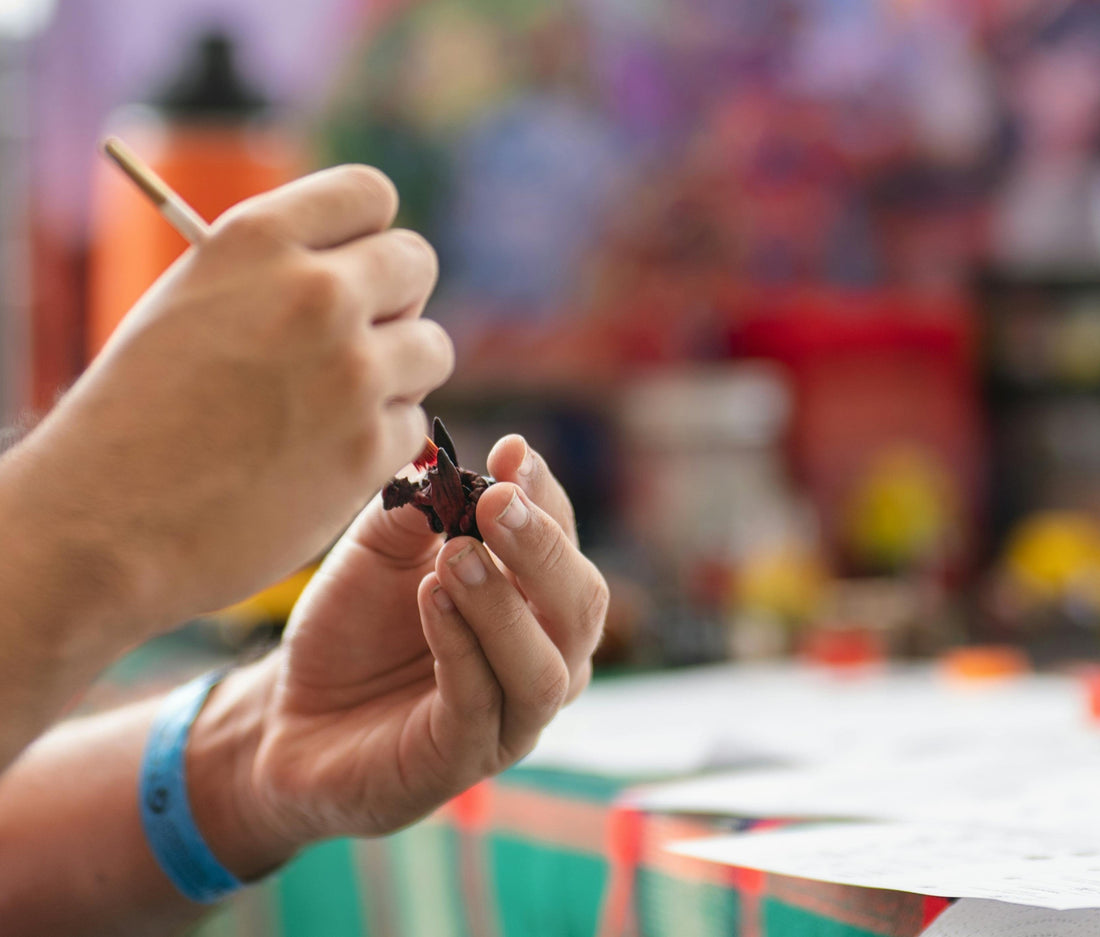
Fixing & Repairing Broken Miniatures: Your Quick & Easy Rescue Guide
Battle damage isn’t just for your characters — sometimes your miniatures take a few critical hits too.
A snapped sword, bent staff, missing limb — it happens!
But don’t worry: your beloved minis aren’t destined for the scrap heap.
With a few easy tools and techniques, you can bring your wounded adventurers back to fighting shape.
This blog post does contain affiliate links. As an Amazon Associate, we may earn from qualifying purchases.
🛠️ Essential Tools for Miniature First Aid
Before you roll for repairs, grab your gear:
• Super Glue (preferably gel-based for better control)
• Fine-Grit Sandpaper or Hobby File Tweezers (for those tiny, fiddly parts)
• Pin Vise (mini hand drill) + small paper clips or hobby pins
• Optional: Green Stuff or Liquid Green Stuff for sculpting and gap filling
Click here to see our guide of essential tools for hobbyists.
🔧 Common Miniature Injuries — And How to Fix Them
1. Snapped Weapons (Swords, Staffs, Spears)
- Trim the Break: Use your hobby knife to clean up any rough edges.
-
Quick Fix:
Add a tiny dab of super glue to each side. Line them up carefully and hold steady with tweezers. -
Heavy-Duty Fix (Pinning):
Drill a small hole in both broken parts, insert a pin or clipped paperclip with glue, and connect for an ultra-strong bond.
2. Bent or Warped Parts
-
Hot Water Trick:
Dip the bent part into hot (not boiling) water for a few seconds. - Gently bend it back into shape by hand.
- Dunk it immediately into cold water to set the shape.
3. Broken-Off Pieces (Arms, Legs, Wings)
- Prep the Surfaces: Lightly sand where the pieces will connect.
-
Glue Light Pieces, Pin Heavy Ones:
For large wings or chunky weapons, drilling and pinning gives a longer-lasting fix.
4. Detached from Base
- Scrape off any old glue.
- Roughen the mini’s feet and the base a little with sandpaper.
- Re-glue for a firm, battle-ready stance.
🖌️ Final Touch-Ups
Once the repairs are dry and solid, repaint the patched areas to match the original colours.
Your mini will be adventure-ready again — and nobody will even notice the battlefield surgery!
⚡Tips for Repairing Miniatures Like a Pro
- Less glue = stronger bond. A small amount is plenty!
- Patience pays off. Give repairs a full 24 hours to fully cure before handling.
- Handle resin minis carefully.
🎲 Fancy a Challenge? Try Kitbashing or Repairing Misprints!
Already mastered basic repairs? Why not put your skills to the test with something a little more adventurous? Our Mystery Misprint Box is packed with imperfect miniatures—miscasts, odd bits, and the occasional headless hero—just waiting for a second chance.
Whether you're looking to kitbash unique characters, practice your repair techniques, or just enjoy the creative chaos, this box is perfect for hobbyists who love a hands-on challenge.
🛍️ Grab your Mystery Misprint Box here
Conclusion
A few broken parts don’t have to end your miniature’s story.
With a little DIY magic, you can patch them up, repaint them, and get back to your adventures without missing a beat.
Next time your mini suffers a mishap mid-campaign, you'll be ready to fix it — no cleric spell slots needed!